6 Tips for Stunning Images and Videos of Your Tour & Activity on Your Website
Creating an engaging website for your tour or experience is all about captivating your potential customers from the moment they land on your page. A crucial part of achieving this allure is through your visuals like images and videos. People naturally want to see what they're getting into before making a booking or embarking on an adventure. Sadly, many tour operators come up short in this department, often displaying only a handful of mediocre images that fail to do justice to their offerings. But this is about to change for you! In this article, we'll share six essential tips to ensure that your website features outstanding images and videos that truly highlight the best aspects of your tour.
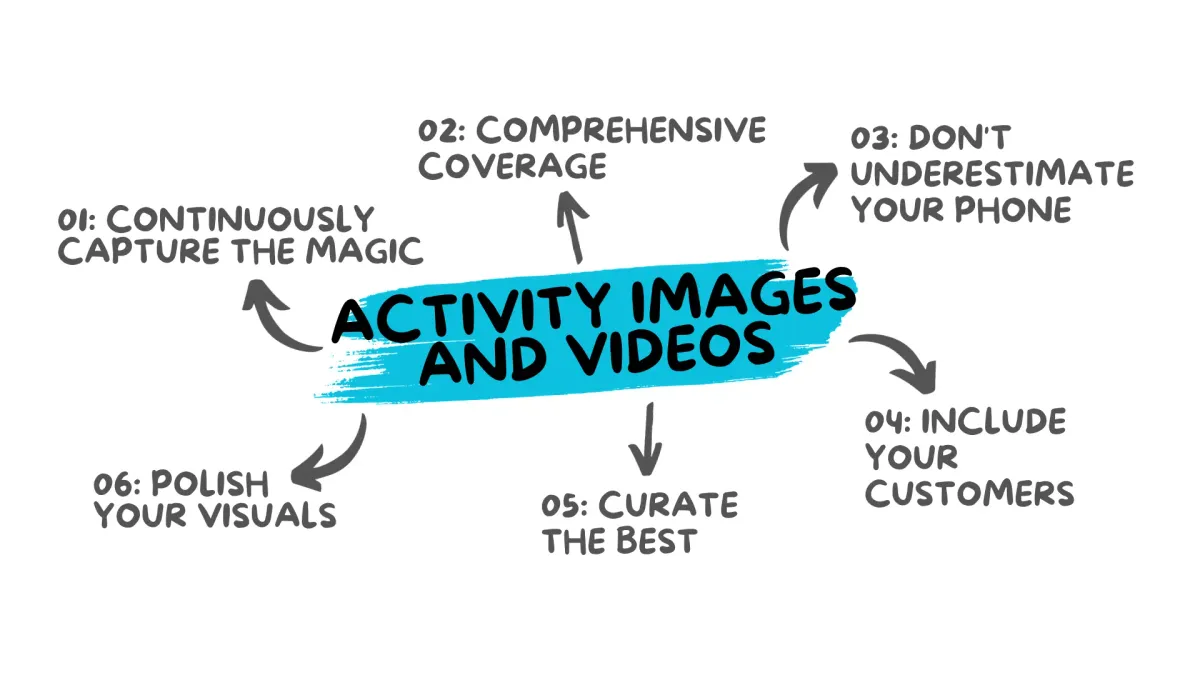
1. Continuously Capture the Magic
One of the secrets to amassing a treasure trove of compelling visuals for your tour is to make it a habit to take photos and videos regularly during each tour. Weather permitting, always have your camera ready. Alternatively, consider enlisting the help of a dedicated photographer or inviting a guest to snap some shots.
To further enrich your image bank, offer an image service to your customers, providing them with access to tour photos free of charge or for a nominal fee. However, be mindful not to overdo it, as some guests may prefer not to be constantly photographed. Identifying key tour spots for capturing high-quality images, perhaps by utilizing a tripod, can be a game-changer. You can even designate specific photo spots where you take pictures of your customers during the tour, ensuring a consistent flow of quality content.
By consistently capturing moments, you'll not only refine your photography skills but also stumble upon some gems right from the start. The quantity might be the key for you!
2. Comprehensive Coverage
To paint a complete picture of your tour, strive to capture every facet of the experience. This means documenting not only the key spots but also any hidden gems and delightful surprises that might arise along the way. Don't neglect the practical details like facilities and food either. For particularly scenic portions of your tour, consider shooting videos to convey the ambiance effectively. This comprehensive approach ensures that potential customers get a full sense of what they can expect when they embark on your tour.
3. Don't Underestimate Your Phone
Modern smartphones often boast excellent cameras, making them more than capable of producing website-worthy images. In the beginning, your phone may suffice in delivering the quality you need, and for many tour operators, it remains a sufficient long-term solution. However, if you aim to elevate your photography game, consider investing in a camera and dedicate some time to mastering its features and settings.
4. Include Your Customers
Images featuring happy, engaged groups of people tend to be the most effective at attracting potential customers. Always seek permission from your guests before using their pictures. Given that customers want to envision themselves on your tour before making a reservation, photographs and videos on your website featuring people actively enjoying the experience can be incredibly persuasive.
Moreover, encourage your customers to document their journey by offering incentives such as discounts on future tours, exclusive merchandise, or shout-outs on your social media channels. When customers take images themselves, these visuals often come across as more natural and relatable, adding an authentic touch to your website's gallery. This collaborative approach may yield outstanding visuals for your website.
5. Curate the Best
From your extensive collection of visuals, select the top 1-2 images for each part of your tour. Arrange them chronologically to give potential customers a sense of the journey. Describe the scene and experiences depicted in the images, as this not only enhances user engagement but also boosts your website's SEO.
To ensure that your selected images are top-notch, consider these additional tips:
- Pay attention to lighting: Well-lit images tend to be more appealing. Try to capture scenes during the golden hours of early morning or late afternoon for a soft, warm glow.
- Focus on details: Zoom in on interesting aspects of the scenery or activities. Close-up shots can add depth and intrigue to your gallery.
- Use natural framing: Utilize natural elements, like tree branches or archways, to frame your shots, adding depth and dimension.
- Capture candid moments: While posed photos have their place, candid shots of genuine reactions and interactions often resonate more with viewers.
- Experiment with angles: Don't be afraid to get low or try a bird's-eye view. Unique angles can make your visuals stand out.
- Edit for enhancement: Employ photo editing tools to adjust brightness, contrast, and color to make your images even more captivating.
By considering these additional elements, you can ensure that the images you select for your website not only tell a story but also leave a lasting impression on your visitors.
6. Polish Your Visuals
Before showcasing your images and videos on your website, consider some basic editing. Free tools like Pixlr, PicsArt, GIMP, or Canva can help brighten and enhance your visuals. For videos, editing software like iMovie or DaVinci Resolve is user-friendly and can assist in trimming less interesting segments or creating highlight reels. When using music in videos, be vigilant about copyright issues and consider royalty-free music sources like Epidemic Sound or YouTube Audio Library. I’ve put together the 3 main points to focus on when editing images and videos (which are absolutely sufficient to start with):
Editing Images:
- Color Correction: Adjusting the color balance, saturation, and contrast can make a significant difference in the appeal of your images. Ensure that colors look natural and vibrant, but avoid excessive alterations that make the image appear unrealistic.
- Cropping and Composition: Use cropping to eliminate distracting elements and improve the composition of your images. Crop to focus on the subject or to adhere to specific aspect ratios for your website. Rule of thirds and leading lines can guide your composition choices.
- Sharpness and Clarity: Enhance the sharpness and clarity of your images to make them visually crisp. Avoid excessive sharpening, which can lead to a grainy appearance. Use this editing step to ensure that key elements stand out and details are well-defined.
Editing Videos:
- Trimming and Cutting: In video editing, trimming is equivalent to cropping in images. Remove unnecessary or less engaging segments to maintain viewer interest. This step ensures that your video remains concise and engaging.
- Transitions and Effects: Apply smooth transitions between clips to create a seamless viewing experience. Experiment with effects and overlays to add visual interest or convey a particular mood. However, use these sparingly to avoid overwhelming your audience.
- Audio Enhancement: Pay attention to the audio quality of your videos. Remove background noise, adjust volume levels, and add background music if appropriate. Clear and balanced audio significantly improves the overall video quality and viewer experience.
Lastly, be cautious not to compromise the quality of your photos or videos during the saving or transferring process. Some messaging apps tend to compress files, leading to reduced quality. Additionally, for speedy loading times, utilize modern formats like WebP when displaying images on your website.
Incorporating these six tips into your website's visual content strategy will undoubtedly elevate your tour's appeal, helping potential customers envision their unforgettable adventure with you. So, grab your camera or smartphone, get creative, and let your visuals tell the story of your incredible tour!